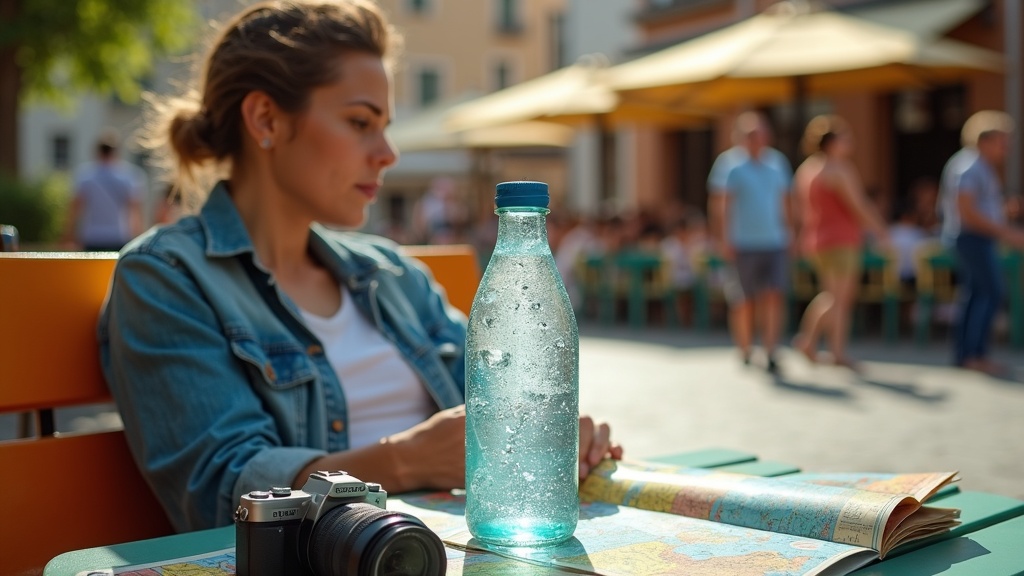
There’s a special kind of disappointment that comes with taking a sip from your water bottle on a hot day, only to find it’s turned into lukewarm soup. You started the morning with ice-cold water, maybe even added ice cubes, but two hours of walking around in the sun has transformed it into something that barely refreshes you at all.
If you’ve experienced this while traveling, you’re not alone. Keeping water cold while sightseeing seems like it should be simple. After all, we have insulated bottles now. We have technology. Yet somehow, by lunchtime, that water is disappointingly warm.
The problem is that most advice about keeping drinks cold assumes you’re using a bottle the way it was designed to be used. But sightseeing isn’t like commuting to work or hitting the gym. You’re constantly opening your bottle. You’re refilling it at fountains that dispense room-temperature water. You’re setting it down on hot surfaces and leaving it in the sun while you take photos.
This article takes a different approach. Instead of just telling you to buy an insulated water bottle and call it a day, we’re going to look at why some popular solutions fail in real-world travel conditions. More importantly, we’ll cover what actually works when you’re spending hours outside in the heat, dealing with the specific challenges that come with exploring a new place on foot.
Why your bottle warms up faster than you expect
Here’s the thing most people don’t realize: your water probably wasn’t cold enough to begin with. Room temperature water from a hotel tap feels fine at first, but it has no chance of staying cold once you step outside. Even water from the fridge is only mildly cool, not truly cold.
Once you’re out sightseeing, your bottle faces attacks from every direction. The sun beats down on it. Hot air surrounds it. Your hand wraps around it each time you take a sip, transferring warmth straight through the metal or plastic. If it’s tucked in your backpack, it’s basically sitting in a little oven pressed against your sweaty back.
Then there’s all that opening and closing. Every time you unscrew the cap, you let warm air rush in to replace the cold air inside. Do that ten times in an afternoon and you’ve essentially flushed out whatever coolness you started with.
If you did add ice, it melts surprisingly fast when the bottle isn’t keeping heat out effectively. And here’s a detail that tricks people: a bottle can feel cool to the touch on the outside while the water inside is already lukewarm. That outer coolness is just the last bit of cold escaping through poor insulation.
The problem isn’t that staying hydrated while traveling is impossible. It’s that most of us don’t realize how many things are working against that cold water from the moment we leave our hotel room. Once you understand what’s happening, the solutions start to make a lot more sense.
Start colder and pack the cold in
The simplest way to keep your water cold longer is to start with it as cold as possible. This sounds obvious, but most people fill their bottle with room temperature water and toss in a handful of ice right before leaving. That ice is fighting an uphill battle from the start.
If you have access to a fridge, stick your empty bottle in there overnight. A cold bottle holds cold water better than a warm one. Fill it with fridge-cold water in the morning, not tap water that’s been sitting at room temperature. Every degree colder you start with buys you more time before your water turns lukewarm.
Ice is your best friend, but size matters. Bigger chunks melt slower than small cubes or crushed ice. If you can make or buy larger ice pieces, they’ll last hours longer in the heat. Fill your bottle most of the way with cold water, then top it off with ice at the last possible moment before you head out. Leave a tiny bit of space at the top so you can actually fit the ice in without overflow.
Traveling without a freezer? You’re not stuck. Buy a cold bottle of water from a convenience store or café and pour it into your insulated bottle. Ask for ice at restaurants when you stop for coffee or breakfast. Some hotels have ice machines even if your room doesn’t have a freezer. The goal isn’t perfection. It’s just starting as cold as you reasonably can with whatever you have available that morning.
Keep the bottle out of the sun and off hot surfaces
Even the best insulated water bottle loses its battle against heat when you leave it baking in direct sunlight. That side pocket on your backpack might feel convenient, but if it’s facing the sun all day, your bottle becomes a solar collector. The metal or plastic heats up fast, and that warmth works its way through even good insulation.
Hot surfaces are just as sneaky. When you sit down on a sun-baked stone bench or concrete wall, your bottle often ends up right there next to you, soaking up all that stored heat. The same thing happens if you tuck it into the back panel of your daypack while you’re wearing it. Your body heat plus the sun on your back creates a warm little pocket that your bottle sits in for hours.
The simplest fix is keeping your bottle inside your bag instead of strapped to the outside. If you need it more accessible, wrap it in a light jacket or scarf. This creates a buffer between the bottle and any heat sources.
When you’re walking, carry your bottle on the shaded side of your body if you can. Switch hands when you turn a corner and the sun moves. It sounds fussy, but it becomes automatic after a while.
Watch out for those moments when you set your bottle down without thinking. Taking photos at a viewpoint, you put it on the ground. Sitting at a café, it goes on the hot metal table. Even a few minutes of direct contact with a scorching surface can undo an hour of careful temperature management. Just stay aware of where your bottle lands, and you’ll keep things much cooler with zero extra gear.
Low-cost upgrades that actually extend the chill
You don’t need to replace your entire bottle setup to keep water colder for longer. A few small changes can add hours of cooling power without spending much at all.
The simplest upgrade is adding a layer between your bottle and the sun. A light-colored sock, bandana, or even a paper bag wrapped around your bottle creates a surprising amount of shade. Reflective emergency blankets from camping stores work even better and cost about a dollar. The goal is blocking direct sunlight, which heats up any surface fast.
If your bottle cap isn’t airtight, warm air sneaks in every time you open it. Caps with rubber gaskets seal better than basic screw-tops. You’ll notice the difference within an hour or two of walking around in the heat. Check that the seal actually touches all the way around when you close it.
Wide-mouth bottles let you add bigger pieces of ice, which melt slower than small cubes. If your bottle has a narrow opening, you’re losing out on this advantage. A reusable ice stick that fits through narrow openings solves this problem for about five dollars.
Here’s a trick that sounds odd but works: ask a café for a small bag of ice cubes when you stop for a break. Keep it in a zip-lock bag in your day pack. When your water warms up, you can top off the bottle instead of drinking lukewarm water for the rest of the day.
When you’re choosing an insulated bottle for travel, focus on three things that actually matter. It should seal without leaking when tossed in a bag. The opening should be wide enough to add ice easily. And it needs to survive being dropped on cobblestones without denting into uselessness.
Drink in a way that keeps the rest of the bottle colder
Every time you unscrew that cap, warm air rushes in to replace the cold air inside your bottle. It’s like opening your fridge on a hot day. The longer the bottle stays open, the more warm air gets in and the faster everything inside warms up.
The fix is pretty simple. When you need a drink, take a few good sips and close the bottle right away. Don’t leave it open while you’re looking at your map or taking photos. Those extra thirty seconds of open air make more difference than you’d think.
If you’re walking with the cap unscrewed or dangling, you’re basically carrying around an open cup. The water at the top warms up fast, and that warmth works its way down. Just get in the habit of twisting it shut after every drink.
Straw lids can be convenient, but only if they actually seal when closed. Some of them let air leak through even when flipped down, which defeats the whole purpose. If yours doesn’t click shut firmly, you’re better off with a regular screw cap.
Here’s something people don’t always think about: when you’re refilling your bottle partway through the day, pouring warm tap water over your remaining ice or cold water will heat everything up quickly. If you can, pour out the old water first, then add fresh cold water if possible. Same goes for sharing sips with friends. Every time someone else opens the bottle and takes their time drinking, more warm air sneaks in. It all adds up faster than you’d expect on a hot day.
Plan refills so you’re not stuck with warm water
Even the best insulated water bottle eventually loses its chill after a few hours in the heat. The trick isn’t fighting this reality. It’s planning your refills so you’re always drinking something reasonably cold instead of hot disappointment.
When you map out your sightseeing route, look for spots that might have ice or very cold water. Hotel lobbies often have ice machines. Coffee shops usually keep their tap water chilled or can add ice to your bottle if you ask nicely. Some restaurants will do the same between lunch and dinner when they’re less busy.
If you can’t find ice anywhere, at least aim for the coldest water available. A convenience store selling refrigerated bottled water works perfectly. Buy one cold bottle and pour half into your insulated bottle, then drink the rest. Even mixing lukewarm tap water with cold bottled water brings the temperature down enough to make a difference.
Timing matters too. Refill during your indoor stops when your bottle has been out of the sun for a bit. A bottle that’s cooled down slightly in an air-conditioned museum holds onto cold water better than one that’s been baking on your backpack strap all morning.
In places where cold water is genuinely hard to find, work with what you have. Drink your warmest water first while it’s still tolerable, saving the colder stuff for the hottest part of the day. Duck into shaded spots or air-conditioned spaces when you can. Your bottle warms slower when you’re not standing in direct sunlight, and honestly, so do you.