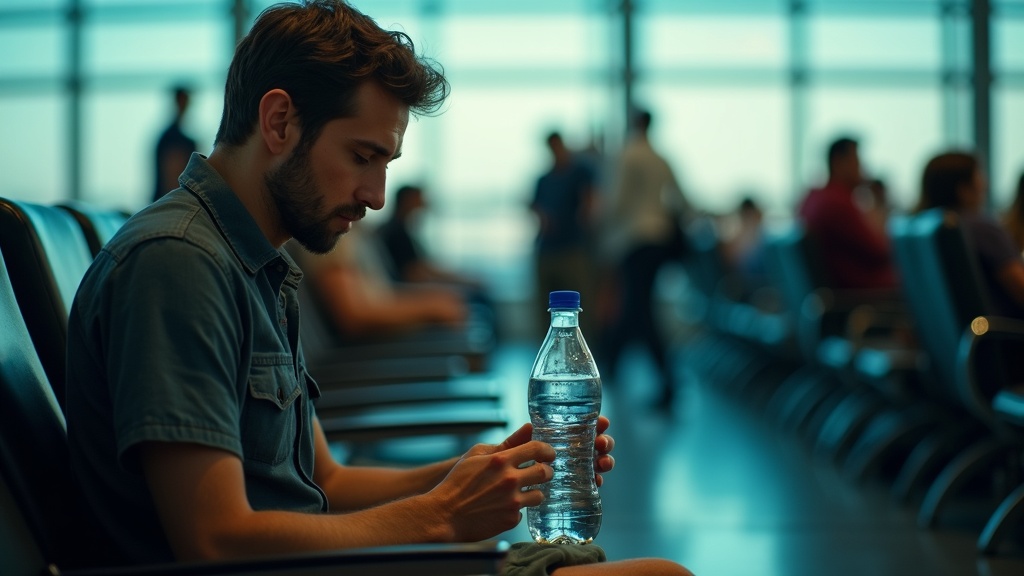
You’re halfway through a long travel day when you take a sip from your water bottle and taste something off. Maybe it’s a weird staleness. Maybe it’s a hint of yesterday’s coffee. Either way, your trusty bottle has turned on you, and you’re stuck in an airport with nowhere to properly clean it.
This happens more often than you’d think. Water bottles get funky fast when you’re traveling because they’re constantly exposed to new bacteria from your mouth, they rarely dry out completely, and they spend hours in warm bags or plane cabins. That combination is basically a bacteria party.
The good news? You don’t need to suffer through drinking from a questionable bottle until you get home. You also don’t need to toss it and buy another overpriced one at the airport. With a few simple tricks and things you can find in most airport bathrooms or shops, you can get your bottle clean enough to use safely and comfortably.
We’re not talking about laboratory-level sterilization here. We’re talking about realistic, practical cleaning that actually works when you’re stuck between flights with limited time and supplies. The kind of cleaning that gets rid of smells, removes the slime, and makes your bottle feel fresh again.
You can do this with what’s around you. Let’s walk through exactly how.
Know what you’re trying to fix in a hurry
Before you start scrubbing your bottle in an airport bathroom sink, take a second to figure out what you’re actually dealing with. Not every problem needs the same fix, and knowing the difference can save you time and keep you from wasting your one shot at cleaning.
If your bottle just smells a bit stale or musty, that’s usually old water sitting too long. It’s not dangerous, just unpleasant. A quick rinse with fresh water and maybe a shake with a tiny bit of hand soap will usually sort it out. You can refill and keep going.
A slimy feeling on the inside walls or around the cap threads means bacteria have started throwing a party in there. It’s not an emergency, but it does mean a rinse alone won’t cut it. You’ll want to use soap and really work it around before you drink from it again.
Visible gunk, cloudy film, or leftover residue from anything other than plain water means you need a proper clean. This is especially true if you put juice, coffee, sports drinks, or anything sweet in there. Sugar feeds bacteria fast, and that sticky film won’t come off with water alone.
Here’s the simple rule: if it just smells off, a quick clean is fine. If it feels slimy or looks dirty, take the time to do it right. And if you can’t clean it properly where you are, stick to buying sealed drinks until you reach a place with better facilities. Your stomach will thank you.
Do a quick clean with just water and friction
When you’re stuck at an airport sink with no soap or cleaning supplies, you can still do a lot with just water and a little elbow grease. This won’t sterilize your bottle, but it will remove visible residue and get rid of that stale water smell that builds up during travel.
Start by dumping out every drop you can. Turn the bottle upside down and give it a few good shakes. Then fill it about a third of the way with water, screw the cap on tight, and shake it hard for ten to fifteen seconds. You’re using the water itself as a scrubbing agent. Pour it out and repeat this two or three times.
Pay special attention to the mouth of the bottle and the cap threads. These spots collect gunk and dried saliva, and they’re the parts that touch your lips. Run your finger around the rim and along the threads while water is flowing over them. If you have a wide-mouth bottle, you might be able to reach partway inside with your fingers.
A clean paper towel or unused napkin from your bag can help with spots you can reach. Wrap it around your finger and wipe the inside of the neck and the rim. Just be gentle so it doesn’t shred and leave bits behind. If the paper starts falling apart, stop and rinse everything out again.
Once you’re done, give it one final rinse with fresh water and leave the cap off while it air dries. Even a water-only clean makes a real difference when you’re between flights and working with what you’ve got.
Use soap when you can, even if it’s not dish soap
Water alone does a decent job of rinsing out visible debris, but it doesn’t cut through the oily film that builds up inside your bottle. That film is what makes your bottle smell funky and taste off after a few refills. Even a tiny amount of soap makes a huge difference because it breaks down those residues in a way that plain water just can’t.
In an airport bathroom, you’re usually limited to hand soap from the dispenser. That’s fine. Put a single drop inside your empty bottle, add water until it’s about a third full, then screw the lid on tight and shake vigorously for thirty seconds. You’ll see it foam up. The shaking is what actually does the cleaning, forcing the soapy water against every inner surface.
If you have access to travel soap sheets or a small packet of liquid soap from your bag, those work even better since they’re usually gentler than industrial hand soap. But honestly, whatever soap you can find will work in a pinch.
The trick is in the rinsing. You need to rinse thoroughly, multiple times, until there’s no soap smell left and the water you pour out doesn’t feel slippery. This usually takes three or four full rinses. Don’t rush it. A soapy aftertaste will ruin your next drink, and you can’t fix it mid-flight.
If your tap water is cold, that’s perfectly fine. Soap works in cold water. It just takes a bit more shaking and rinsing to get everything out.
Clean the parts that usually cause the smell
If your water bottle smells funky, the bottle itself is probably fine. The real culprits are the lid, the mouthpiece, and all those little grooves where the cap screws on. Water sits in these spots, bacteria love them, and that’s where the smell comes from.
Start with the lid. If it has a spout or straw, run water through it from both directions. Hold it under the tap and let water push through the drinking hole, then flip it and rinse from the inside out. This flushes out anything stuck in there.
For a deeper clean, fill a coffee cup or disposable cup with warm soapy water and drop the whole lid in. Let it soak for a few minutes while you’re waiting at your gate. The soap gets into all the crevices you can’t reach with your fingers.
Pay special attention to the threads where the cap screws onto the bottle. Run your finger along those grooves and you’ll probably feel a slimy film. Wipe them down with a soapy paper towel or napkin, then rinse thoroughly. The same goes for any rubber gasket or silicone ring you see. If it comes out easily, rinse it separately. If it looks tricky to remove or you’re worried about losing it, just rinse it in place.
The part your mouth touches matters most. Wipe down the entire drinking surface with something clean, even if it’s just a damp napkin. This is where bacteria transfer from your mouth back to the bottle, so keeping it clean breaks that cycle.
Use an easy sanitizing method you can actually do while traveling
Sometimes soap and water aren’t quite enough, especially if your bottle has been sitting around for a while or smells a bit funky. The good news is you can do a deeper clean without fancy equipment or a home kitchen.
The easiest option is to grab bottle cleaning tablets at an airport convenience store or pharmacy. These little fizzy tablets are designed specifically for water bottles and hydration packs. Drop one in your filled bottle, let it sit for the time listed on the package (usually around fifteen to thirty minutes), then rinse thoroughly with clean water. They work well and leave almost no taste behind if you rinse properly.
If you happen to have a small bottle of hydrogen peroxide in your toiletries, you can use that too. Mix about a tablespoon with water to fill your bottle, let it sit for ten to fifteen minutes, then rinse it out really well. The peroxide breaks down into plain water and oxygen, so it’s safe once rinsed. Just make sure you rinse multiple times until there’s no chemical smell left.
Boiling water is another option, but only if your bottle can handle high heat. Check the bottom of your bottle for temperature limits. Stainless steel bottles are usually fine. Most plastic bottles are not. If you’re in a hotel or lounge with access to very hot water, you can pour it in and let it sit for a few minutes. This helps kill odor-causing bacteria without chemicals.
Whatever method you use, give your bottle plenty of time to air dry afterward. A clean but wet bottle can still grow new bacteria surprisingly fast.
Keep it from getting gross again during the next leg
Here’s the problem: you just cleaned your bottle, but now it has to sit in your bag for six hours with the cap screwed on tight. That’s basically a recipe for funky smells and slime. When moisture gets trapped in a closed container with no airflow, bacteria multiply fast. Even if the bottle looks clean, a few drops of water are enough.
The single best thing you can do is empty it completely before you pack it. Shake out every last drop. Turn it upside down and give it a few good taps. If you’re at the gate and have a few minutes, leave the cap off and let it air out while you wait to board.
If you can’t leave the lid off, at least keep it loose or store the cap separately in a pocket or side compartment. Even a tiny bit of airflow makes a difference. Pack the bottle upside down if possible so any remaining moisture drains toward the opening instead of pooling at the bottom.
Don’t top off old water that’s been sitting in there for hours. That leftover water has been warming up, picking up mouth bacteria, and generally becoming less appetizing. Dump it and start fresh when you get to your next gate or destination.
When you absolutely have to pack it right away with no time to dry, shake it out hard, wipe the rim and threads with a clean napkin or paper towel, and keep it empty until you can refill. An empty bottle won’t grow anything. A damp one absolutely will.
Handle airport realities without contaminating your bottle
Airport restrooms aren’t exactly pristine, but you can work with what you’ve got without overthinking it. The trick is keeping your bottle parts off surfaces that dozens of people have touched in the last hour.
Before you unscrew anything, grab a few extra paper towels. Use one as a clean landing pad for your lid and any parts you remove. This beats setting them directly on the counter next to the soap dispenser where everyone’s been resting their hands.
When you’re rinsing at the sink, keep the mouthpiece away from the faucet itself. Hold your bottle at an angle so water flows in without the spout making contact with the tap. It sounds fussy, but it takes two seconds and saves you from the one thing you’re trying to avoid.
If you need to shake out excess water, step back from the sink area. A quick shake toward the drain is fine, but don’t spray water all over the mirror or the person washing their hands next to you. Face the wall or step into an empty corner if the restroom is crowded.
Water fountains and filling stations are generally safer than restroom sinks, but the same rule applies. Don’t let your bottle touch the spout. Hold it just underneath and let the water stream in. Most airport filling stations are designed with enough clearance to make this easy.
If you’re working with a narrow sink or awkward faucet, fill your bottle partway, swirl, and dump. Repeat a few times instead of trying to get a full rinse in one go. It’s less stressful and you won’t end up soaking your shirt.
Know when cleaning won’t fix it
Sometimes a quick airport cleaning just isn’t going to cut it. You can scrub and rinse all you want, but certain problems won’t go away until you can do a proper deep clean at home.
The clearest sign is smell. If your bottle still has a strong funky odor after you’ve washed it out with soap and hot water, that’s bacteria living somewhere you can’t easily reach. Usually it’s hiding in the threading around the cap or deep inside the drinking spout.
Look for visible mold or dark spots, especially around the mouthpiece or inside any fold or crevice. If you see it, no amount of rinsing will make that bottle safe to use. The same goes for a cloudy film on the inside walls that won’t come off when you wipe it with your finger.
Check the rubber or silicone parts too. Gaskets and seals can absorb odors permanently, and they often develop tiny cracks where bacteria love to hide. Give them a sniff test. If they smell sour or mildewy even after cleaning, they’re done.
When you hit this point mid-trip, your best move is damage control. Many airport shops sell replacement caps or lids that might fit your bottle. If you packed a spare gasket, swap it in. Otherwise, consider grabbing a cheap disposable bottle to get you through until you’re home and can either deep-clean your regular bottle or replace the parts that need it.
There’s no shame in admitting defeat temporarily. A bottle that’s truly dirty isn’t worth the stomach trouble.